Process: 13

.
.
.
Adjustment #3:
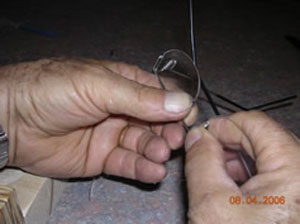
Notice the twist in the glasses shown.
.
.
.
.
.
.
 .
.
.
.
.
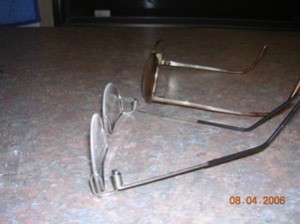
Twist straight at the nosepiece
.
.
.
.
.
.
.
 .
.
.
Adjustment #4:
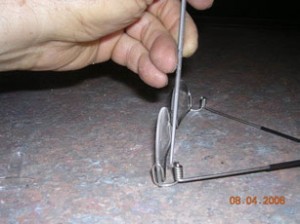
Proper tilt of the lenses.
Notice the lenses in the factory made
glasses in the background. The bottom
of the lenses tilt slightly to the rear.
.
.
.
.
 .
.
.
.
.
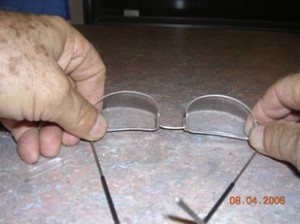
To achieve that, we need to reduce the
distance between the bottom of the
hinge coil and the lenses.
.
.
.
.
.
 .
.
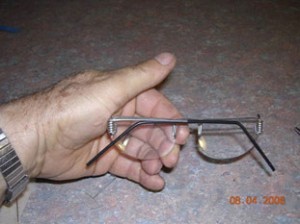
This can be done to both sides at once
by laying the glasses upside down and
squeezing between the thumb and
forefinger as shown. Or you can do each
side separately with the pliers, being
careful not to scratch the lenses. Keep in
mind that both earpieces need to touch
the table at the same time.
.
.
.
 .
.
.
.
Adjustment #5:
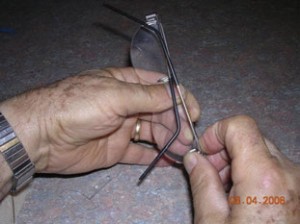
The earpieces need to be in alignment
with the top of the frame while folded.
.
.
.
.
.
.
 .
.
.
.
.
(example of misaligned earpieces)
.
.
.
.
.
.
.
 .
.
.
.
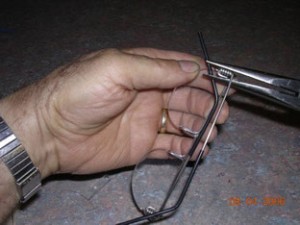
If they do not, grasp the coil with your
fingers or with pliers, and bend into
alignment with the top of the frame
while closed.
.
.
.
.
.
.


1 | 2 | 3 | 4 | 5 | 6 | 7 | 8 | 9 | 10 | 11 | 12 | 13 | 14 | 15


