Process: 8
Note #1: While winding the coils on the earpiece, care must be taken to keep the short piece of wire straight. If bent, you cannot get a good coil. This means that while winding the coil you must keep the handle of the bender level, being careful not to push up or down on it.
Note #2: Do not hold the bender down. The bender must rise as it forms the coil, so if you hold it down the wire will wrap over itself, ruining the coil.
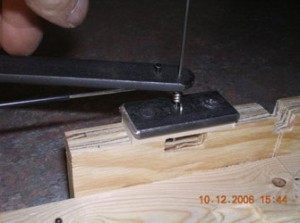
To make the left earpiece: Turn the
bender counterclockwise. As the pin
pushes the earpiece wire around, it
starts to bend. When it reaches the
position shown (wire pointing to the
left), count #0. Continue turning and
counting turns, then stop at #5 with
the wire in alignment with the back
wall of the jig, pointing to the left.
.
.
 .
.
.
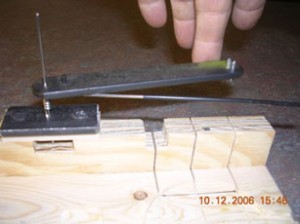
To make the right earpiece: Follow the
same steps, but wind clockwise instead.
Also, count #0 when the wire starts to
bend and points to the right. Continue
turning until you reach #5 with the wire
in alignment with the back wall of the jig,
pointing to the right.
.
.
.
 .
.
.
.
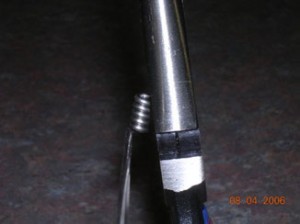
Cut off the excess wire from the coil.
Notice the angle of the coil to the
pliers. This is very important in order
to keep the earpieces from missing
the stop and opening too far.
.
.
.
.
 .
.
.
.
.
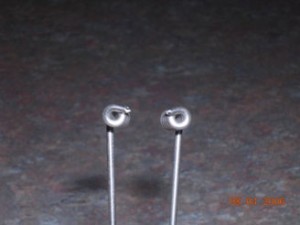
Finished coils should look like this
(opposite of each other).
.
.
.
.
.
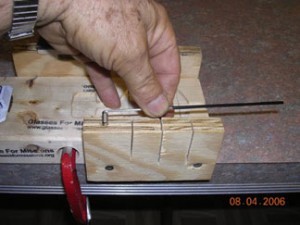
Make sure the tubing is sticking
 out enough to cover the end of
the wire (to keep the wire from
scratching when the glasses are
put on).
Insert the earpiece coil in the
hole on the front wall of the jig,
with the wire pointing to the right.
Note: If it will not fit in the hole,
cut the wire a little closer to the
coil.
.
 .
.
.
.
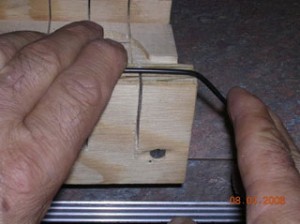
Hold the coil down in the hole
with your left hand and bend the
right end down about 45 degrees.
1 | 2 | 3 | 4 | 5 | 6 | 7 | 8 | 9 | 10 | 11 | 12 | 13 | 14 | 15


